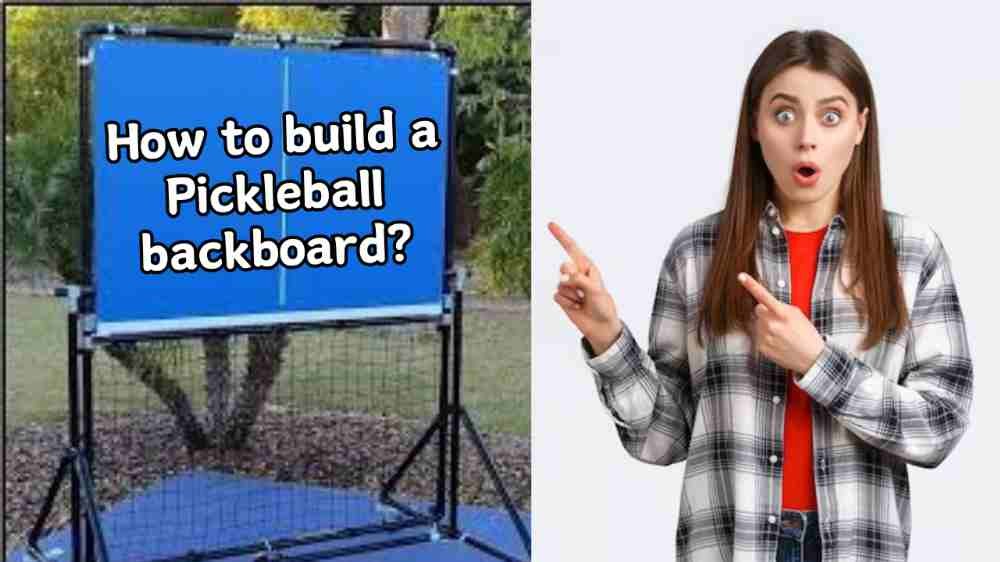
A good training or practice is essential for mastering your skills and tactics in Pickleball or any other game. But, to master your skills and improve your game, you need someone to assist you and play with you. Here comes the role of a Pickleball backboard which acts as a training companion with you to improve your skills. But the question is “How to build a Pickleball backboard?”

As a professional Pickleball player, I am here to assist you in building your own Pickleball backboard. And you don’t need to worry about its making process. It’s an easy DIY project that let you a few hours to complete and start your training right after.
Pickleball backboard is helpful in improving your forehand and backhand strokes, volleys and servings. You can work on your weaknesses if you have any. You can work and improve your shots accuracy and precision while practicing with Pickleball backboard. So, let’s start the step-by-step guide to build a Pickleball backboard for you.
How to build a Pickleball backboard? Full Guide
Backboard will definitely help you to gain more accuracy in shots, strokes and volleys. Often people used to underestimate it’s importance in advancing and improving their skills. But you are the one who knows it, and looking forward to enhance and master your skills. So, let’s start the step-by-step guide:
Required Materials & Tools:
- 4×8 plywood sheet
- sandpaper
- saw
- drill
- nails or screws
- screwdriver
- paint
- bungee cord
Instructions:
Hope you have collected all required materials and tools mentioned above. Now it’s time to take action.
Step-1 :
So, first make your decision about the size of the backboard. And cut the plywood sheets accordingly. I would recommend you to cut plywood sheets in 4×4 size. This size backboard will be best suitable for practicing drills and strokes.
For cutting plywood sheets, you need to measure it with measuring tape and mark the cuts, and then use saw to cut.
Step-2 :
When we cut plywood sheets using saw, there remains rough and sharp edges. And sometimes, the plywood surface can also have some roughness over it.
So, to clear and smooth the edges and surface of the plywood sheets, use sandpaper and rub it on the sheet thoroughly. It will remove all imperfections and splinters from the plywood surface and make it safe to work on.
Step-3 :
The colour of the plywood surface will become light brown or yellow after smoothing, which is not good for making backboard because of low visibility. So, you need to paint it with a colour which have higher visibility like green or blue whichever you prefer. And leave it for a day or two, so that the colour became dry completely.
Try to use paint which is resistant to weather or sunlight as if you practice in outdoor conditions then it won’t get damaged.
Also Read: Why are Pickleball paddles so expensive?
Step-4 :
It’s time to add some rebounding features and elements on the backboard so that it can help you to practice each and every type of move just like an actual playing partner.
To add rebounding features, you need to position the bungee cord across the diagonal and fix it using screws. The tension of the cord can be adjusted as per your game preference. It will help you to drill the Pickleball in a dynamic way just like a real game.
Step-5 :
The backboard is ready now, you can hang it on a wall using drill or screws and start practicing.
And if you want to use it on the court, then you need to fix it on a frame which can be shifted easily from one point to another and helps you to master your moves from different angles.
To make a frame for this backboard, you can use wooden lumbers or can make a frame of iron rods. And then fix the backboard on it. Make it sure that the backboard is stuck thoroughly to the frame otherwise it will be unstable and may cause unnecessary disturbance.
Additionally, you can draw marks on this backboard as per your convenience to give perfection to your drills with more accuracy and precision. For marking such lines, you can use white or yellow paint or can also use 2cm wide tap.
Well, your homemade Pickleball backboard is now completely ready for helping you in mastering your skills and improve your game. You can place it on different angles of the court, and practice volleys, serves and other your weaknesses.
FAQs:
How much time it will take to build a Pickleball backboard?
It will take 6 to 8 hours only. And the rest depends on your working skills and experience on DIY projects.
How much does it cost to build a Pickleball backboard?
It will cost around $300 to $600. It varies on the basis of quality of products you are using. And I will prefer to go with quality material always.
What should be the perfect size for the backboard?
It will be best if you use a 4×4 plywood sheet and make a backboard using it. But you may also customise the backboard size as per your convenience.
Conclusion:
Hope you got what you want by following easy to do steps on “How to build a Pickleball backboard?” And if you are a passionate Pickleball player, then you should definitely work on your skills using Pickleball backboard. It will improve you day by day and makes you stronger in your weak aspects. Also you can play and practice every type of shots on backboard.
With my personal experience and knowledge, I have shared every note of this Pickleball backboard making process in simple steps. But if you still have any questions in your mind, then just comment it down below. I will try to sort it out as soon as possible.
And if this article really helped you in building your own Pickleball backboard and you loved the process, then I will recommend you to share it with your friends and family. Maybe it will be helpful for them as well. Have a great day!
2 thoughts on “How to build a pickleball backboard? Full Guide”